
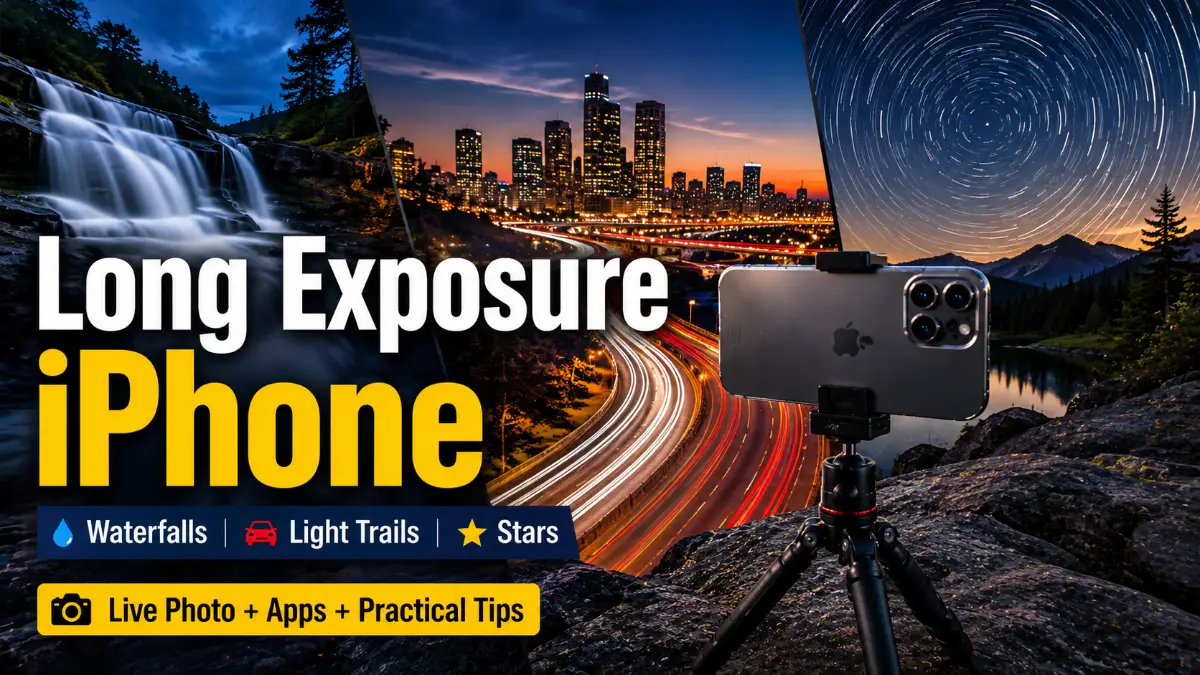
Long exposure iPhone photography can make flowing water look silky, turn moving headlights into glowing trails, and reveal the apparent movement of stars across the night sky. The important detail is that these subjects should not all be photographed in exactly the same way. Apple’s Live Photo effect works well for quick motion blur, while dedicated apps such as Spectre, Slow Shutter Cam, and NightCap offer different levels of control for more demanding scenes.
Instead of treating long exposure as one universal setting, this guide matches the technique to the subject. That makes it easier to decide when the built-in iPhone tools are enough, when an app makes sense, and when stabilization or an ND filter can genuinely improve the result.
How Long Exposure iPhone Photography Works
The standard iPhone Camera app does not provide a conventional bulb mode or a dedicated shutter-speed dial like a traditional interchangeable-lens camera. Apple does, however, include a built-in Long Exposure effect for Live Photos. A Live Photo records activity immediately before and after the still image is captured. In the Photos app, Apple lets you apply a Long Exposure effect that it describes as simulating a DSLR-like long exposure by blurring motion.
That gives iPhone photographers two main approaches:
- capture a Live Photo and convert it to Long Exposure in Photos,
- use a dedicated camera app designed for longer or more specialized motion effects.
Which approach works best depends heavily on the subject.
Also Read: Osprey Farpoint 40 vs Other Travel Backpacks: Complete Comparison Guide
Waterfalls, Streams, and Fountains
Water is one of the easiest subjects for learning long exposure photography because it offers continuous movement alongside stationary objects such as rocks, bridges, trees, or buildings. The goal is usually to let the water blur while keeping the surrounding scene sharp.
Start With the Free Live Photo Method
For a quick waterfall or fountain photograph, begin with Apple’s built-in method.
- Open the Camera app.
- Make sure you are in Photo mode.
- Turn Live Photo on.
- Compose the scene.
- Hold the iPhone as steadily as possible.
- Press the shutter.
- Open the Live Photo in Photos.
- Tap Live near the top of the image.
- Select Long Exposure.
Apple currently supports this workflow directly in Photos.
This approach is particularly useful for:
- fountains,
- streams,
- small waterfalls,
- waves washing around rocks,
- moving water in city scenes.
You do not need to choose a specific shutter duration because Apple’s Live Photo effect handles the blending for you.
When a Dedicated App Makes More Sense
The native effect is convenient, but it gives you limited creative control. For stronger smoothing or a more deliberate slow-shutter effect, apps such as Spectre or Slow Shutter Cam are more suitable. Spectre currently supports computational long exposures of up to 30 seconds according to its App Store version history. Slow Shutter Cam offers Motion Blur, Light Trail, and Low Light capture modes as well as manual ISO and effectively unrestricted shutter-duration controls within its workflow.
Rather than assuming that every waterfall needs a fixed number of seconds, watch the result and adjust according to:
- how quickly the water is moving,
- how much texture you want to preserve,
- available light,
- whether surrounding objects remain sharp,
- how pronounced you want the blur to appear.
Fast-moving water can look smooth with less accumulated motion than slowly flowing water.
Read More: C6 Corvette LS2 vs LS3: Which Engine Is Better for a Used Corvette?
When an ND Filter Helps
Bright daylight can make deliberate long-exposure photography more difficult because the scene contains a great deal of light. A neutral-density, or ND, filter reduces incoming light. When used with a camera app that offers longer capture control, this can make it easier to create stronger daytime motion effects without letting bright areas dominate the image.
An ND filter is most useful for subjects such as:
- waterfalls in strong daylight,
- ocean waves,
- rivers,
- moving clouds,
- crowded daytime locations.
It is not necessary just to use Apple’s Live Photo effect.
Light Trails From Cars, Cities, and Light Painting
Light trails rely on a different visual principle from waterfalls. Instead of turning continuous physical motion into soft blur, you are recording the path of a moving light source. Cars, bicycles, fireworks, and handheld lights can therefore create lines and shapes across the frame.
Choose an App With Light-Trail Support
Apple’s Live Photo effect can produce some movement, but dedicated light-trail modes give you substantially more creative flexibility. Slow Shutter Cam currently includes a dedicated Light Trail mode designed for moving lights, including car trails and fireworks. NightCap also includes a Light Trails mode intended for traffic, fireworks, and light painting. Its Long Exposure mode supports captures lasting seconds or minutes. Spectre can also create long-exposure effects and supports captures up to 30 seconds. The best option depends less on chasing one supposedly perfect exposure time and more on how far the light travels through your composition.
Build the Scene Around the Trail
Position matters enormously. A technically successful light trail can still be visually weak if the road or light path does not lead anywhere.
Look for:
- curved roads,
- bridges,
- intersections,
- elevated viewpoints,
- tunnels,
- city streets framed by buildings,
- moving lights reflected in wet pavement.
The stationary background gives the glowing trail context. For traffic photography, always choose a safe location away from moving vehicles and never stand in or obstruct a roadway for the sake of a photograph.
Read More: Trucks for Sale: What to Know Before You Buy in 2026
Stabilization Makes Light Trails Cleaner
The camera should remain as still as practical while the lights move through the frame. A tripod is therefore highly useful, particularly when using longer capture periods. A solid wall, railing, or other stable surface can also work when a tripod is unavailable. The goal is simple: the lights move, but the architecture and environment do not.
Star Trails and Night-Sky Photography
Astrophotography is the most specialized subject in this guide. Stars appear to move across the sky because of Earth’s rotation. A star-trail photograph records that apparent movement over time. This is very different from simply taking an ordinary Night mode photo.
Use an App Designed for Astrophotography
NightCap currently provides dedicated modes for:
- Star Trails,
- Stars,
- Meteors,
- ISS photography,
- long exposures,
- light trails.
Its current NightCap 10 release specifically supports Star Trails and long exposures lasting seconds or minutes. That makes it more suitable for this purpose than trying to stretch Apple’s Live Photo effect beyond its intended role.
You Do Not Need to Memorize a Fixed Star-Trail Formula
Older guides sometimes specify exact numbers of frames or insist that every star trail requires a particular minimum capture time. That can be misleading.
How long you photograph depends on:
- how long you want the visible trails to become,
- the portion of the sky in your composition,
- your orientation relative to the celestial poles,
- ambient light,
- cloud movement,
- local light pollution,
- the app’s own capture and stacking method.
A longer session generally records more apparent stellar movement, but there is no single duration that is correct for every composition.
Is a Tripod Mandatory?
A stable tripod remains highly useful for deliberate star-trail compositions because it keeps the framing consistent. However, saying that NightCap absolutely requires a tripod for all long exposures is now outdated. NightCap 10 advertises a handheld processing system that aligns frames while shooting and explicitly states that long exposures can now work handheld. For carefully framed star trails, though, mounting the iPhone remains the more predictable approach. Handheld capability and ideal technique are not necessarily the same thing.
Find a Darker Sky
No camera app can completely eliminate the visual effect of severe light pollution.
For more visible stars, look for:
- darker locations away from bright urban centers,
- clear skies,
- an unobstructed view,
- minimal direct artificial light hitting the lens.
Include a foreground subject-such as a tree, mountain, building, or rock formation-so the final photograph has a visual anchor instead of showing only trails.
Best Long Exposure iPhone Method by Subject
Different scenes benefit from different tools.
| Subject | Best Starting Method | Stabilization | Useful Extra |
| Fountain | Live Photo Long Exposure | Helpful | None required |
| Small stream | Live Photo or Spectre | Helpful | None required |
| Waterfall | Spectre or Slow Shutter Cam | Recommended | ND filter in bright light |
| Ocean waves | Live Photo or slow-shutter app | Recommended | ND filter in daylight |
| Car light trails | Slow Shutter Cam, Spectre, or NightCap | Recommended | Remote/timer |
| Light painting | Slow Shutter Cam or NightCap | Recommended | Controlled light source |
| Star trails | NightCap | Highly recommended | Dark location |
The simplest rule is to start with the least complicated method capable of creating the look you want.
The Most Useful iPhone Long Exposure Settings
There is no single group of iPhone long exposure settings that works for every app because Apple’s native method and third-party apps operate differently.
Still, several controls matter repeatedly.
Focus
Tap the important stationary object in your composition before capture. In Apple’s Camera app, you can touch and hold the focus area to engage AE/AF Lock, which helps keep focus and exposure behavior consistent while composing. Apple also lets you manually adjust exposure brightness.
Exposure
Watch highlights closely. Water, headlights, street lamps, and illuminated signs can become overly bright. If the app allows exposure compensation or manual control, reduce exposure when necessary to protect important bright details.
Timer
Touching the phone can introduce movement just before capture. Apple’s current Camera app provides 3-second, 5-second, and 10-second timer options. When the phone is mounted, using a timer can improve consistency.
ISO
In manual-style apps, lower ISO settings generally reduce amplification and can help produce cleaner files when sufficient light and capture time are available. However, do not treat a specific ISO number as universally correct. Scene brightness and app behavior vary.
Night Mode vs Long Exposure
Night mode and long exposure are related to capturing over time, but they are not the same feature. Apple’s Night mode is designed to improve photography in low-light environments. It can automatically extend capture time, and on supported iPhones you can choose a longer Night mode capture using the Max setting. Long-exposure photography, by contrast, often uses accumulated movement intentionally to create blur, trails, or visual smoothing. Apple also notes that manually turning on Live Photos while Night mode is active disables Night mode. So do not assume that a Night mode photograph automatically produces the same result as the Live Photo Long Exposure effect.
Which Is the Best iPhone for Long Exposure Photography?
There is no need to claim that one current model is universally the best iPhone for long exposure photography. The appropriate model depends partly on the method you intend to use. Apple’s Live Photo workflow is broadly available on compatible iPhones, while newer hardware may offer camera improvements or app-specific support. Third-party developers also update their applications for newer devices-for example, Spectre’s recent updates added compatibility improvements for newer iPhones and iOS versions. For most photographers, technique matters more than upgrading solely for this effect.
Prioritize:
- stabilization,
- clean composition,
- suitable light,
- choosing the right app,
- protecting highlights,
- selecting a subject with meaningful movement.
A well-composed photograph on an older compatible iPhone can be more effective than a poorly composed one on the newest hardware.
Common Long Exposure iPhone Mistakes
A few mistakes account for many disappointing results.
Blurring the whole photograph.
If stationary rocks, buildings, or signs are soft, the phone probably moved during capture.
Using excessive motion blur.
The smoothest possible water is not automatically the most attractive. Some texture can make a scene feel more natural.
Using the wrong method for the subject.
Live Photos are excellent for simple motion effects but are not a substitute for every specialist capture mode.
Relying on fixed exposure recipes.
Movement speed, brightness, composition, and app behavior all change the appropriate capture strategy.
Confusing Night mode with a creative long exposure.
Night mode is primarily a low-light photography feature rather than a dedicated motion-effect tool.
Ignoring highlight clipping.
Bright water, signs, headlights, and street lamps can lose useful detail quickly.
Using outdated app advice.
Camera apps evolve. Current NightCap, for example, now advertises handheld long exposure, while Spectre supports captures up to 30 seconds.
Frequently Asked Questions
How do I take a long exposure photo on an iPhone without an app?
Take a Live Photo, open it in Photos, tap Live, and select Long Exposure. Apple describes the effect as simulating DSLR-like long exposure by blurring motion.
What is the best subject for a beginner?
A stream, fountain, or small waterfall is an excellent starting point because the moving water contrasts naturally with stationary surroundings.
What is the best exposure time for a waterfall on iPhone?
There is no universal number. The ideal result depends on water speed, available light, the amount of texture you want, and the app being used. Adjust the capture until the moving water looks intentional while stationary details remain sharp.
Can I create light trails with an iPhone?
Yes. Slow Shutter Cam and NightCap have dedicated light-trail modes, while Spectre supports computational long exposures up to 30 seconds.
Can I take star trails with an iPhone?
Yes. NightCap currently includes a dedicated Star Trails mode designed specifically for astrophotography.
Do I always need a tripod?
No. Apple’s Live Photo method can work handheld, and NightCap 10 now supports handheld long-exposure processing. A tripod remains highly useful whenever you want maximum consistency or fixed framing.
Do I need an ND filter?
Not for every photograph. ND filters are most useful when you want stronger long-exposure effects in bright daylight because they reduce incoming light.
Is iPhone Night mode the same as Long Exposure?
No. Night mode is primarily intended for low-light photography. Apple’s Live Photo Long Exposure is a separate effect that intentionally blurs motion.
Can I use RAW for long exposure photography?
Some third-party camera workflows provide additional capture formats or editing flexibility, but RAW is not required to create a successful long-exposure image. Check the current capabilities of the specific app and iPhone model you are using.
Which app should I choose for long exposure photography?
Use Apple’s Live Photo effect for the easiest free method, Spectre for approachable computational long exposures, Slow Shutter Cam for dedicated motion and light-trail controls, and NightCap for long exposure combined with astrophotography and specialized night modes.
